How to Identify Common Chimney Flashing Issues and Solutions?
Safeguard your home by recognizing subtle chimney flashing issues - discover how to prevent potential water damage and costly repairs.
Identifying common chimney flashing problems and finding effective solutions are important steps to ensure your roof remains in good shape. One frequent issue is poor installation, which often results in leaks. This can happen if the area where the flashing meets the chimney bricks isn’t properly sealed or if nails are used instead of screws, leading to loosening over time. Hiring a professional who uses the right methods and materials can create a solid, waterproof seal.
The choice of material is another key factor. Using aluminium, copper, or steel, depending on your climate and roofing type, can significantly cut down on deterioration risks. For example, vinyl flashing may not hold up as well under extreme weather compared to metal options.
Over time, deterioration in all flashing materials is expected, so regular inspections are a must. If you notice loose flashing, often caused by storms or the natural expansion and contraction of materials, you can fix it by cleaning the area, securing it with roofing nails, and applying sealant generously.
For severe damage, such as warping or heavy rust, replacing the flashing is necessary. Maintaining and repairing the flashing promptly can help prevent minor issues from turning into major problems, protecting your home’s structure in the long run.
What Are the Signs of Damaged Chimney Flashing?
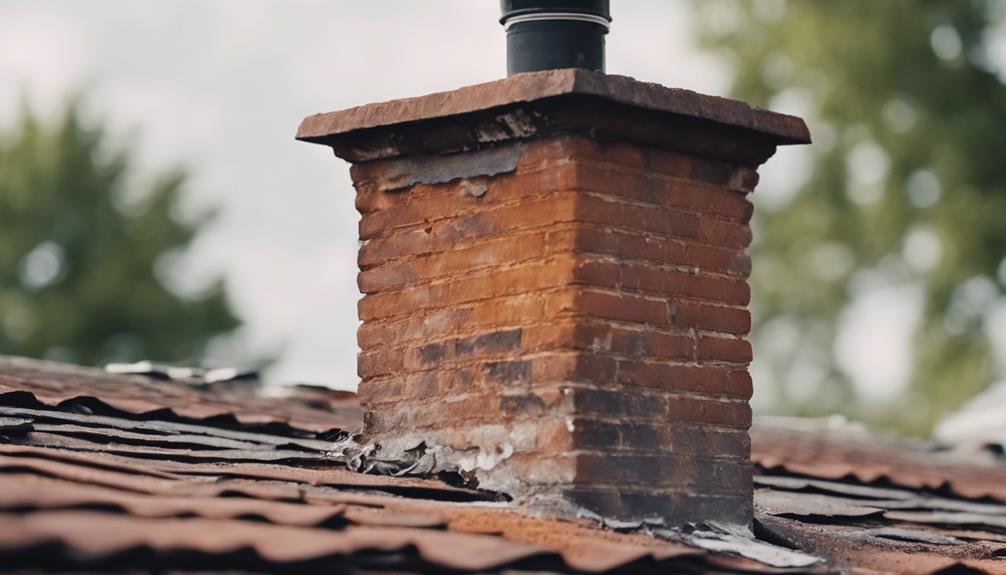
Spotting signs of damaged chimney flashing is crucial for keeping your roof waterproof and your home in good shape. If you notice water leaks on the ceiling above your fireplace, it could mean the flashing is compromised, letting water seep in through that exposed seam. Brown or yellow stains on the ceiling or walls near the chimney are also telltale signs of water getting through. You might even find dampness around the fireplace or flue, especially after it rains, hinting at flashing issues.
Peeling paint around the chimney often means water has gotten in, making the paint lose its stick. Rust on metal parts in your attic is another warning sign, indicating water has made its way in. When rainwater mixes with corroded metal parts, rust-coloured stains can appear, signalling a problem. Discoloured areas around the fireplace moulding are another clue that the flashing might need fixing.
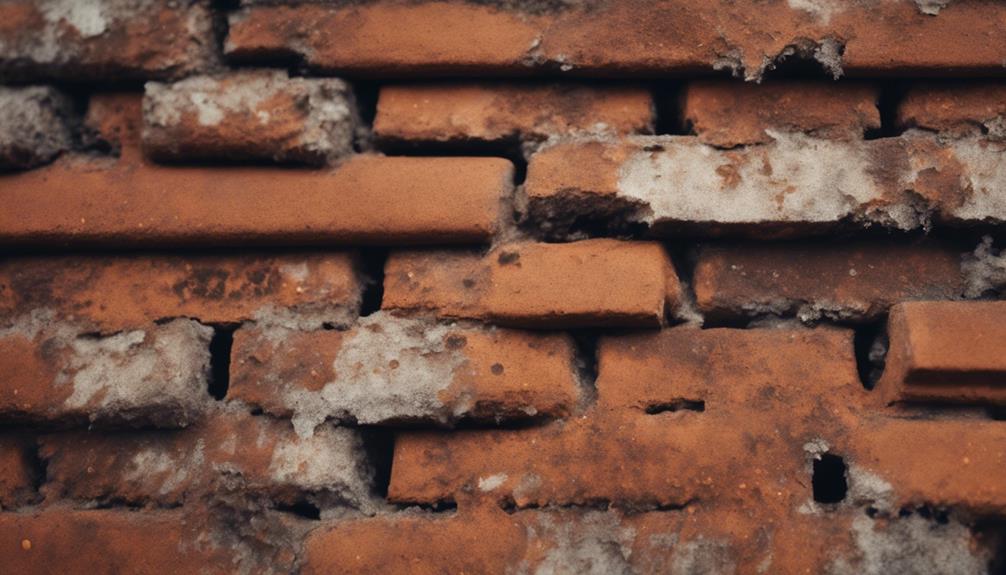
Look out for things like crumbling mortar joints, cracked bricks, damaged shingles, and splits in the masonry joints between bricks on the outside. Spotting these problems early can save you from bigger, costly repairs and help maintain your home’s structure.
What Are the Causes of Flashing Problems?
Flashing problems in chimneys commonly arise from a combination of environmental factors, material degradation, and improper installation techniques. Environmental factors such as harsh weather conditions, temperature fluctuations, and exposure to UV rays can cause flashing to deteriorate over time.
Material degradation, including rusting of metal flashing or cracks in cementitious flashing, weakens the integrity of the flashing system. Improper installation techniques, such as using the wrong type of flashing material or failing to secure the flashing properly to the chimney, can lead to water infiltration and subsequent damage.
These causes can interact and compound each other, exacerbating the issues and leading to more significant problems if not addressed promptly. Understanding these common causes of flashing problems is important for effective troubleshooting and repair techniques, which will be discussed in the next subtopic.
What Are the Troubleshooting and Repair Techniques?

In addressing common chimney flashing issues, effective troubleshooting and repair techniques play an important role in maintaining the structural integrity of the chimney system. When dealing with chimney flashing problems, it is vital to identify the root cause before proceeding with the repair.
Here are some common troubleshooting and repair techniques used by professionals:
| Issue | Solution |
|---|---|
| Leaking around chimney | Check for gaps in flashing and seal with appropriate caulk |
| Loose flashing | Secure flashing using screws or nails |
| Rusty flashing | Replace rusted flashing with new material |
| Cracked sealant | Remove old sealant and reseal with high-quality sealant |
| Damaged chimney crown | Repair or rebuild the chimney crown to prevent water entry |
How to Deal with Loose Flashing Around a Chimney?
Taking care of loose chimney flashing quickly is important to prevent serious water damage and structural problems. Loose flashing usually happens due to weather changes, poor installation, or the natural movement of building materials. Here’s what you should do if you notice your chimney flashing is coming loose.
Start by cleaning and checking the area thoroughly. Use a wire brush to get rid of any dirt or debris so you can see the flashing clearly. Make sure to hammer down any nail heads that are sticking out.
Then, apply a waterproof roofing sealant to any areas that are worn or cracked, exposed nail heads, and flashing joints. Use a putty knife to make sure the sealant is applied generously to create a waterproof seal.
To ensure the flashing stays in place, hammer in some additional roofing nails. Be sure to cover the nail heads with more sealant to keep water out. Look for any gaps between the flashing and the roof or chimney and fill these with sealant as well.
If the flashing is warped, badly corroded, or significantly damaged, it’s probably best to call a professional to replace it. Regular maintenance and timely repairs can save you from bigger issues down the road.
How to Repair Common Issues in Chimney Flashing?
Fixing common chimney flashing issues starts with a good inspection to locate damage like cracks, leaks, or rust. Spotting these early can save you from bigger repairs later on.
First, clean the flashing with a wire brush to clear off dirt and debris. Hammer down any loose or sticking-out nails. For small cracks or worn spots, use a putty knife to apply a thick layer of roofing sealant. This will make sure your flashing is waterproof.
If the damage is more serious—things like warping or heavy corrosion—you might need to replace the flashing. Carefully remove the old material with a cold chisel and hammer, then use a pry bar to get rid of any leftover roofing cement. Cut new pieces of flashing from materials like aluminium or copper, and secure them with roofing nails or screws. Make sure to cover all nail heads with sealant to keep everything durable.
If the leaking persists despite these repairs, it’s a good idea to reach out to a professional roofing contractor for a more thorough fix or replacement. Taking care of these problems right away helps keep your chimney and roof in good shape.
How to Prevent Further Damage?

Keeping your chimney flashing in good shape is all about regular maintenance and checks. It’s a good idea to inspect your roof at least twice a year, especially after any major storms. When you do, keep an eye out for water stains, damp spots, or paint that’s starting to peel around the chimney – these can all be signs that something’s wrong with your flashing.
Beyond that, it’s important to keep the flashing area clean and clear of debris. Leaves and dirt can hold moisture, which speeds up the wear and tear process. Hiring a professional to clean and inspect the flashing means you can be sure the job is done right.
When fixing up your roof, avoid using nails to hold down the flashing. The natural expansion and contraction due to temperature changes can loosen them over time. Instead, go for screws and a good quality roofing sealant. This approach seals everything up tight and keeps water out.
Frequently Asked Questions
How Often Should Chimney Flashing Be Inspected?
You should check your chimney flashing at least once a year, ideally during your regular roof maintenance. These inspections can help catch problems early, allowing you to make repairs before issues like water damage or structural problems become serious.
Can I Install the Chimney Flashing Myself?
Sure, you can put in chimney flashing on your own, but you’ll need the right tools, materials, and some know-how. Making sure it’s installed correctly is key to avoiding water damage down the road. It’s a good idea to check in with a pro to ensure your work holds up over time.
What Materials Are Best for Chimney Flashing?
When selecting materials for chimney flashing, copper stands out for its durability and resistance to corrosion. Stainless steel offers great strength, and aluminium is a good choice if you’re looking for something cost-effective that’s easy to install. Choosing the right material ensures your chimney is protected from water damage for years to come.
Does Homeowner’s Insurance Cover Chimney Flashing Repairs?
Chimney flashing repairs might be covered by homeowner’s insurance, but it depends on what caused the damage. If a storm or fire leads to the issue, your policy may cover it. It’s best to take a look at your policy or talk to your insurance provider for all the details.
How Long Does Chimney Flashing Typically Last?
Chimney flashing generally lasts between 20 to 30 years, but this can vary based on the quality of the materials and how well it was installed. Regular check-ups and maintenance can help it last longer and keep water damage at bay.