How Infrared Roof Inspections Work?
Curious about how infrared technology uncovers hidden roof issues?
Infrared roof inspections use thermal imaging cameras to spot temperature differences on a roof’s surface, revealing potential moisture and insulation problems. During the day, sunlight warms the roof membrane and insulation. As night falls and the temperature drops, the roof cools down. However, wet insulation areas retain heat longer than dry ones due to the higher thermal mass of the moisture.
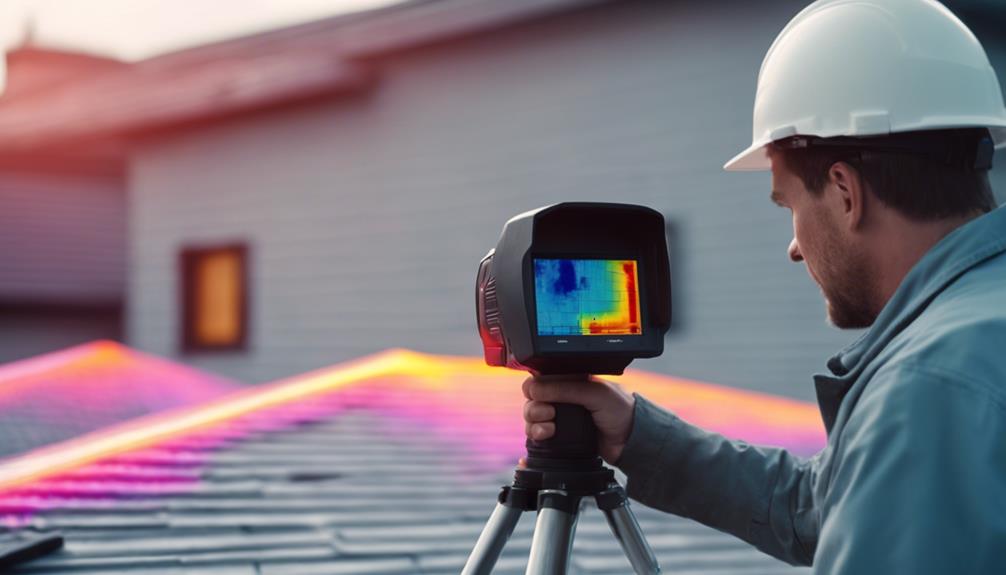
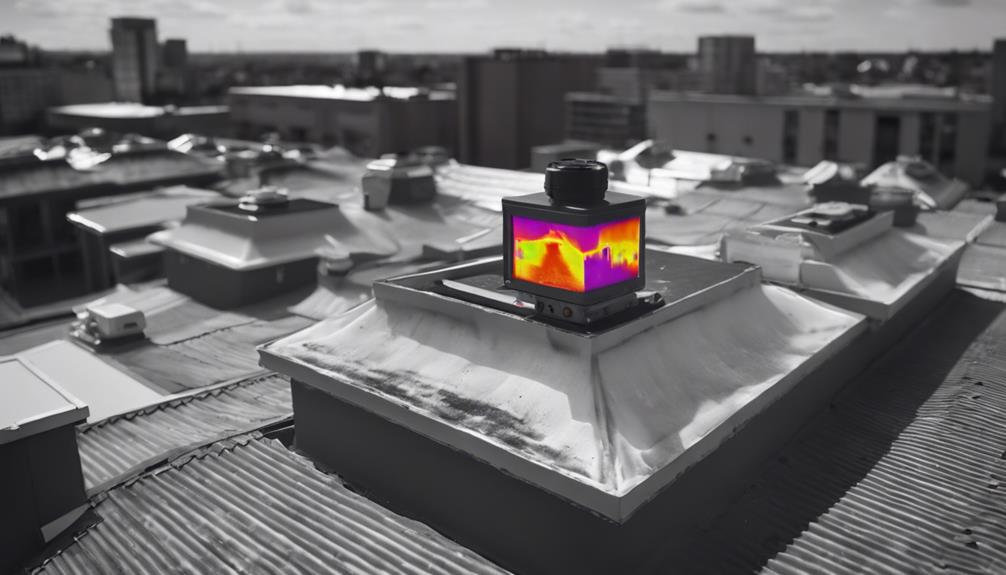
These inspections usually happen at night when the contrast between wet and dry areas is most noticeable. An infrared camera captures thermal images of the roof. These images show temperature differences through colour variations, with warmer, moisture-retaining spots appearing reddish and cooler, dry spots appearing purplish.
Specialized software analyzes these images to identify patterns indicating moisture or insulation issues. This non-invasive method accurately pinpoints problems that aren’t visible to the naked eye. After identifying thermal anomalies, roofing professionals can recommend specific repairs, like replacing wet insulation. Marking the affected areas with paint ensures that roofers can address these issues effectively during repair work, improving the roof’s overall condition and performance.
How Does Infrared Technology Work in Roof Inspections?
Using advanced thermal imaging, infrared technology helps detect heat variations on a roof’s surface to spot moisture and insulation problems. This technique relies on the thermal properties of materials; wet areas hold heat longer than dry ones, creating noticeable temperature differences. During the day, the sun heats the roof, and as it cools at night, these differences become clear.
Thermal imaging cameras capture these variations by converting infrared radiation into visible images, highlighting temperature irregularities. Specialized software then analyzes these images to distinguish between normal patterns and potential issues. This allows for a non-invasive and efficient assessment of the roof’s condition.
Key steps in infrared roof inspections include:
- Capturing Data: Infrared cameras take thermal images of the roof at night when temperature differences between wet and dry areas are most noticeable.
- Analyzing Images: The software examines the thermal images to pinpoint areas of concern, such as moisture or poor insulation.
- Providing Insights: Roofing experts interpret the data to recommend focused repairs, ensuring effective and economical maintenance.
What Is an Infrared Roof Inspection?
An infrared roof inspection is a modern way to find moisture and insulation problems using thermal imaging to spot heat differences on a roof’s surface. This method involves using infrared cameras to capture temperature changes, revealing issues that traditional inspections might miss.
During the day, the sun heats up the roof membrane and insulation. As night falls, the roof cools down, but wet insulation holds onto heat longer than dry areas. Infrared cameras can detect these temperature differences, creating thermal images where warmer, wet spots show up as reddish and cooler, dry spots appear purplish.
Roofing experts then use specialized software to analyze these images, identifying patterns that point to potential problems like leaks and poor insulation. This detailed information helps them accurately locate trouble spots, allowing for targeted repairs such as replacing wet insulation. This can prevent further damage and extend the roof’s lifespan.
Why Are Infrared Inspections Used for Roofs?

Using thermal imaging for roof inspections helps identify moisture and insulation issues early, which can save money on repairs and prolong the roof’s life. This method offers a comprehensive assessment that visual inspections often miss, making sure problems are caught before they become major issues.
Infrared inspections are particularly useful for roofs due to several reasons:
-
Moisture Detection: Infrared cameras can spot moisture intrusion and hidden leaks beneath the roof’s surface. Catching these issues early helps prevent mould growth and structural damage, maintaining the building’s integrity.
-
Energy Efficiency: By locating areas with poor insulation, infrared inspections can significantly improve a building’s energy efficiency. Identifying where heat is escaping allows for targeted insulation improvements, which can lower energy bills.
-
Preventive Maintenance: Regular infrared inspections support proactive maintenance. They help pinpoint weak spots and areas needing attention, allowing property owners to make repairs before minor issues turn into major damage, thereby keeping the roof functional and extending its lifespan.
How To Identify Potential Roof Issues?
To effectively identify potential roof issues, inspectors must conduct a thorough examination that encompasses various critical aspects of the roof’s condition. To start, inspectors need to assess the overall integrity of the roof surface, looking for signs of wear, damage, or deterioration such as cracks, blisters, or pooling water. They should also inspect the roof’s flashings, seams, and penetrations for any gaps or inconsistencies that could lead to leaks or moisture infiltration.
Moreover, inspectors need to evaluate the insulation levels to make sure they meet the required standards for energy efficiency and moisture control. They should also check for any signs of moisture intrusion within the roofing system, which can be indicative of leaks or poor drainage.
Inspectors must pay close attention to areas with potential heat loss or gain, as this could indicate insulation issues or thermal bridging. Additionally, they should look for any anomalies in the infrared images that could point to hidden roof issues not visible to the naked eye. By meticulously examining these key areas, inspectors can accurately identify potential roof issues and recommend appropriate solutions to guarantee the roof’s longevity and performance.
What Steps in an Infrared Roof Inspection?

The process of an infrared roof inspection involves several key steps to accurately identify and diagnose roofing issues.
These steps ensure that potential problems are pinpointed efficiently, allowing for timely and accurate repairs that can prevent further damage.
-
Preparation and Initial Check: Before starting the infrared inspection, a quick visual check of the roof is done to spot any obvious issues, like visible damage or debris. This initial look helps plan the infrared survey and gives an idea of the roof’s current state.
-
Thermal Imaging: The main part of the infrared roof inspection uses an infrared camera to take thermal images of the roof. This is usually done at night when the roof is cooling down. The camera detects temperature differences, with wet areas holding heat longer than dry ones. These images reveal moisture and other issues not visible to the naked eye.
-
Analysis and Reporting: After capturing the thermal images, specialized software helps analyze the data. The roofing expert interprets these images to spot patterns indicating moisture or other problems. A detailed report is then prepared, highlighting problem areas and suggesting specific repairs or maintenance actions.
Frequently Asked Questions
How Much Does an Infrared Roof Inspection Typically Cost?
Getting an infrared roof inspection usually costs between $500 and $1,500. The price can vary depending on factors like the size and complexity of your roof, as well as where you are located. Different providers might charge differently based on their expertise and the range of services they offer.
Can Infrared Roof Inspections Be Performed on Pitched Roofs?
Sure, infrared roof inspections can be done on pitched roofs. The results, however, might depend on factors like the roof’s shape, its surface condition, and the weather. It’s a good idea to talk to a specialist to get an accurate evaluation.
Are Infrared Roof Inspections Affected by Weather Conditions?
Yes, the weather can definitely impact infrared roof inspections. Rain, high humidity, and direct sunlight can mess with thermal readings, so it’s best to do these inspections when conditions are just right for accurate results.
How Long Does an Infrared Roof Inspection Usually Take?
An infrared roof inspection usually takes between 1 to 3 hours, depending on how big and complex the roof is. This method is non-invasive and helps spot potential issues, making it easier and more cost-effective to handle maintenance.
Is Special Training Required to Operate the Infrared Camera for Roof Inspections?
Yes, you do need specialized training to use an infrared camera for roof inspections. It’s important for professionals to grasp the basics of thermography, know how to operate the camera and be able to interpret the data correctly to spot and diagnose roofing problems.
