How to Install Asphalt Shingles?
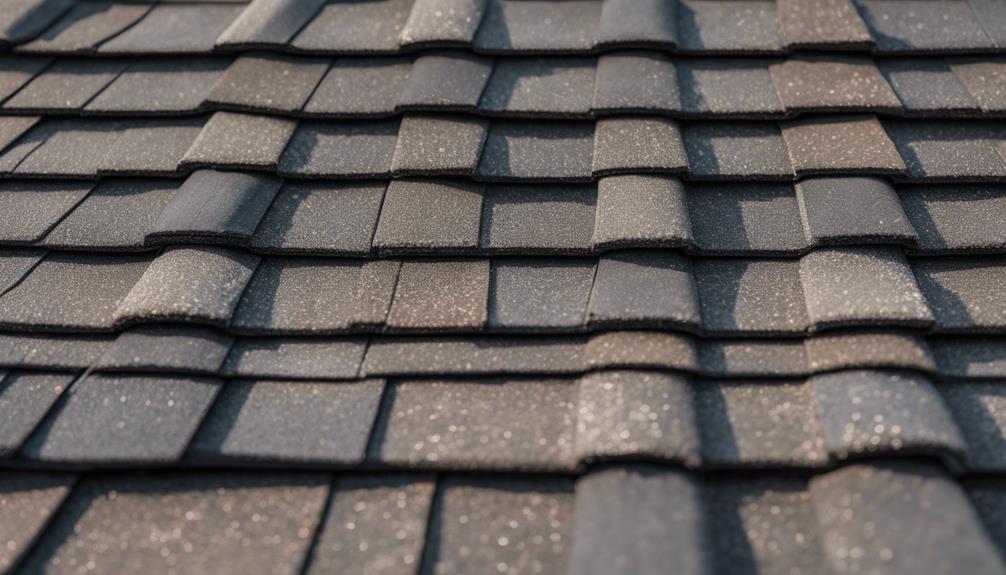
Mastering the installation techniques for asphalt shingles is a cornerstone of ensuring the structural integrity and longevity of a roof.
The precision in underlayment placement, the finesse in nailing, and the meticulous attention to flashing are all crucial components of a robust roofing system.
These techniques not only protect against the elements but also contribute to the overall aesthetics of a building.
By exploring the nuances of asphalt shingle installation, professionals can refine their craft and elevate the standard of their workmanship.
How Can You Select the Right Underlayment?
Selecting the appropriate underlayment is important in ensuring the longevity and effectiveness of the asphalt shingle installation process. Underlayment serves as a vital barrier against water infiltration, which is essential for maintaining the integrity of the roof structure.
There are various types of underlayment available, such as asphalt-saturated felt, synthetic underlayment, and rubberized asphalt membrane. Each type has its advantages and suitability depending on the specific needs of the project.
When selecting an underlayment, factors such as the local climate, roof pitch, and budget should be taken into. Proper preparation of the roof deck before installing the underlayment is also important. By selecting the right underlayment and preparing the roof deck adequately, you can set a solid foundation for a successful asphalt shingle installation.
What Are The Proper Nailing Techniques for Asphalt Shingles?
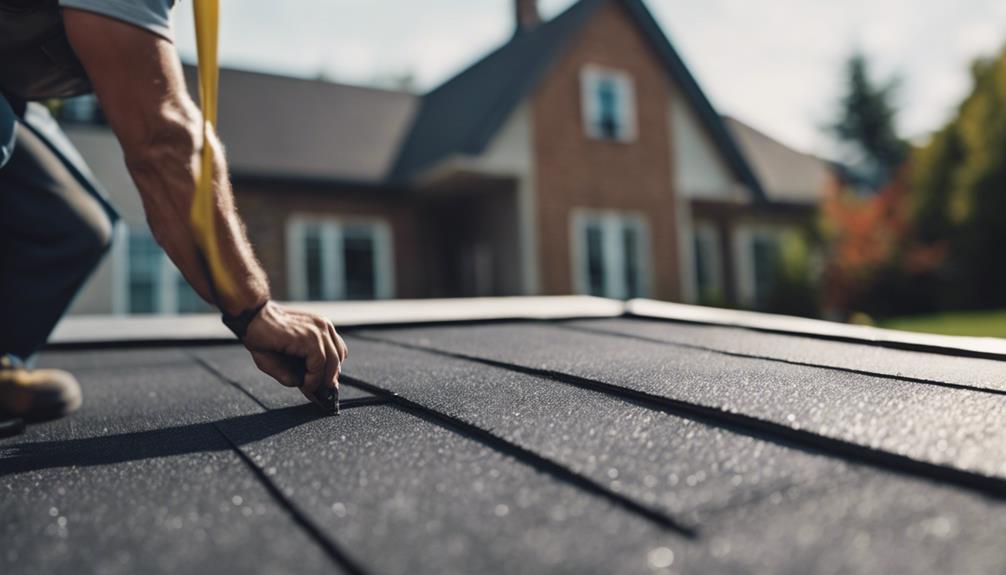
When nailing asphalt shingles, it is vital to use the correct type and length of nails. Roofing nails with a large flat head and a shank diameter of around 0.12 inches are commonly recommended for asphalt shingle installation. The length of the nails should be sufficient to penetrate through the shingle, underlayment, and into the roof deck, typically ranging from 1.25 to 1.5 inches.
Nails should be driven straight and flush with the surface of the shingle without overdriving, which can cause shingle distortion, or underdriving, which can lead to shingle uplift during high winds. Proper placement of nails is also essential.
Typically, nails are placed above the adhesive strip on the shingle to guarantee proper sealing and wind resistance. Additionally, nails should be spaced according to manufacturer specifications, usually around 6 inches apart horizontally and 12 inches apart vertically along the shingle’s nail line.
Following these proper nailing techniques will help guarantee a securely installed asphalt shingle roof that can withstand various weather conditions over time.
How Can You Properly Install Asphalt Shingles?

For a successful installation of asphalt shingles, precise alignment and proper fastening are essential elements to guarantee a durable and weather-resistant roofing system. When installing asphalt shingles, it is important to follow manufacturer guidelines and best practices to ensure a high-quality outcome. Here are some key steps to take into account during the installation process:
| Step | Description |
|---|---|
| Aligning Shingles | Start by aligning the first row of shingles along the eaves, ensuring they overhang the roof edge consistently. |
| Fastening Shingles | Use appropriate nails and follow the nailing pattern recommended by the shingle manufacturer for secure fastening. |
| Overlapping Shingles | Properly overlap each shingle to prevent water infiltration and create a uniform appearance across the roof. |
How are Flashing and Ventilation Considerations Important in Asphalt Shingle Construction?
When considering the installation of asphalt shingles, attention to proper flashing techniques and ventilation is important to guarantee long-term roof performance and durability.
Flashing is essential for preventing water infiltration at vulnerable areas like roof valleys, chimneys, skylights, and vents. It is important to use high-quality flashing materials and make sure they are properly installed to create a watertight seal. Improper flashing can lead to leaks, mould growth, and structural damage over time.
Ventilation is equally important for the longevity of the roof and the overall health of the building. Adequate ventilation helps regulate temperature and moisture levels in the attic, preventing issues such as ice dams, mould, and premature shingle deterioration. Proper ventilation also contributes to energy efficiency by reducing heat buildup in the summer and moisture buildup in the winter.
What Are The Key Factors in Ensuring a Flawless Asphalt Roof Shingle Installation?

Ensuring a flawless installation of asphalt shingles requires meticulous attention to detail at every step of the process. This includes proper nailing techniques, precise underlayment installation, and meticulous flashing methods.
To achieve a flawless asphalt shingle installation, consider the following:
- Proper Nailing: Using the correct nails and driving them in at the right angle and depth is critical for the shingles’ stability and longevity.
- Underlayment Installation: The underlayment acts as an important barrier against water infiltration. Ensure it is installed correctly and overlaps are appropriately sealed to prevent leaks.
- Flashing Techniques: Proper flashing around roof penetrations, valleys, and edges is essential to prevent water seepage and maintain the integrity of the roofing system.
Frequently Asked Questions
Can Asphalt Shingles Be Installed Over Existing Shingles, or Is It Necessary to Remove the Old Shingles First?
It is generally recommended to remove existing shingles before installing new asphalt shingles. This guarantees proper adhesion, reduces weight on the roof structure, prevents moisture issues, and allows for a smoother, more even surface for peak performance and longevity of the new shingles.
What Are Some Common Mistakes to Avoid When Installing Asphalt Shingles?
When installing asphalt shingles, it is important to avoid common mistakes such as improper nailing techniques, inadequate underlayment installation, and faulty flashing methods. These errors can lead to water damage, premature wear, and compromised structural integrity.
How Long Can Asphalt Shingles Be Expected to Last Before Needing to Be Replaced?
Asphalt shingles typically last 20-30 years, depending on factors like climate, maintenance, and installation quality. Regular inspections can help identify signs of wear, such as curling or missing shingles, prompting timely replacement to prevent further damage.
Are There Any Special Considerations to Keep in Mind When Installing Asphalt Shingles in a High-Wind Area?
When installing asphalt shingles in high-wind areas, special considerations include using proper nailing techniques, ensuring a secure underlayment installation, and implementing effective flashing methods. These measures are vital for enhancing the shingles’ resistance to strong winds and preventing damage.
What Is the Best Way to Maintain and Prolong the Lifespan of Asphalt Shingles Once They Are Installed?
Maintaining and prolonging the lifespan of asphalt shingles post-installation involves regular inspections for damage, keeping gutters clean to prevent water backup, and addressing any issues promptly. Proper ventilation, avoiding foot traffic, and tree trimming also aid longevity.
