What Is the Step-By-Step Guide to Emergency Roof Repairs?
Yearning for quick solutions to unexpected roof damage? Learn essential steps to execute temporary emergency repairs swiftly and skillfully.
In the face of unexpected roof damage, having a clear plan of action can be the difference between a minor issue and a major disaster.
When faced with a leaking roof or missing shingles, knowing how to effectively execute temporary emergency repairs can provide much-needed relief until permanent solutions are in place.
As we navigate through the essential steps and techniques required for these quick fixes, it becomes evident that preparedness in handling such crises is paramount.
Stay tuned to learn how to address common roof issues with precision and care, ensuring your property remains safe and secure.
What Should You Do First When You Spot Roof Damage?
When you spot roof damage, the first step is to document it thoroughly using photographs and videos. This documentation is crucial for future reference and insurance claims, helping roofing professionals assess the situation.
Follow these immediate actions:
-
Capture Visual Evidence: Take clear images and videos of the damage from various angles, focusing on leaks, cracks, or missing shingles.
-
Notify Your Insurer: Contact your insurance provider promptly and share the documented evidence to speed up the claims process.
-
Arrange a Professional Evaluation: Hire a certified roofing contractor to inspect the damage and determine if repairs or a full replacement is needed.
Promptly taking these actions can minimize additional damage and facilitate the repair process. Keep all receipts and communications organized for your insurance claim to ensure a smoother recovery.
How to Assess Roof Damage?
When assessing roof damage, it is crucial to conduct a thorough inspection to identify the extent and specific areas in need of repair. Begin by visually examining the roof from the ground, looking for missing, damaged, or displaced shingles, as well as any signs of sagging or structural issues.
Once on the roof, carefully walk the surface, checking for soft spots, cracks, or areas where water may be pooling. Inspect the flashing around chimneys, vents, and skylights for signs of damage or deterioration.
Document all observed damage, taking notes and photographs to aid in the repair process. Look for signs of water leaks in the attic or ceiling, such as water stains or mould growth, which can indicate where the roof is failing.
Pay attention to any debris, such as branches or leaves, that may be obstructing proper drainage and contributing to water accumulation.
When Is It Time to Handle Emergency Roof Repairs?
When it’s time to handle emergency roof repairs, look for specific signs of damage that indicate immediate action is necessary.
| Signs of Roof Damage | Urgency Level |
|---|---|
| Gaping holes | Immediate attention |
| Water stains larger than 3 inches | High urgency |
| Sagging roof | Critical concern |
| Discoloration or mold growth | Moderate urgency |
| Missing or loose shingles | Needs prompt repair |
If you notice gaping holes, sagging structures, or significant water leaks, contact a professional roofing contractor immediately. These issues can lead to severe water damage and safety hazards.
Additionally, monitor for discolouration, mould growth, or missing shingles, as these suggest underlying problems requiring timely intervention. Quick action can prevent further damage and reduce repair costs. Always prioritize safety and seek qualified professionals for emergency roof repairs.
Where Can You Get Temporary Emergency Roofing Materials?
Temporary roofing materials can be sourced from several suppliers.
Here are three recommended options:
-
Apollo Scaffold Services: Offers temporary roofing systems for construction sites with quick installation options, utilizing Lattice Beam or X-beam designs.
-
Roofing Megastore: Provides a variety of roofing sheets, including bitumen, metal, and polycarbonate, all designed for rapid fitting. Their products come with a 40-year warranty.
-
B&Q: Supplies roofing sheets in various materials and sizes for outdoor shelters or as supplemental layers for existing roofs.
How Can You Make Temporary Roof Repairs Yourself?
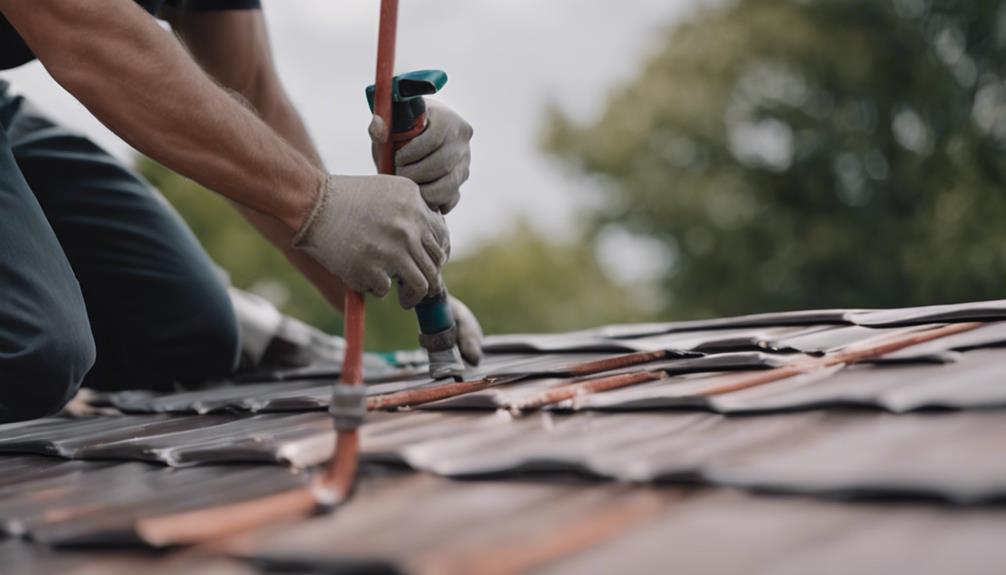
You can make temporary roof repairs yourself by following these steps:
-
Cover the Leak: Identify the leak and cover it with a tarp, ensuring it extends at least four feet beyond the damaged area. Secure the tarp with sandbags or bricks to prevent it from blowing away. Use a bucket or towels inside to catch dripping water.
-
Apply a Patch: For small holes, use roofing cement, old shingles, or specialized tape to patch the area. Ensure the surface is clean and dry before applying the patch material, pressing firmly to create a seal.
-
Use Sealant: If you have a fibreglass roof, apply acrylic sealant around the leak. Clean the area of debris and use a brush to apply the sealant evenly.
These temporary repairs can help minimize damage until a professional can fix the roof. They should not be relied upon for long-term solutions.
How to Seal Roof Leaks Effectively?

After successfully applying a tarp to cover leaks, the next step in emergency roof repairs involves sealing the leaks using specialized roofing sealants and techniques. Roofing sealants such as silicone, polyurethane, or asphalt-based products are commonly used to create a watertight seal around areas prone to leaks.
Before applying the sealant, it is important to clean the area thoroughly to make sure proper adhesion. Remove any debris, dirt, or old sealant using a wire brush or scraper.
Inspect the area around the leak for any cracks, gaps, or damaged sealant. Apply the roofing sealant generously over the damaged area, extending beyond the affected area to create a strong barrier against water penetration. Use a putty knife or caulking gun to carefully apply the sealant, making sure that it fills in all cracks and crevices.
Allow the sealant to dry and cure according to the manufacturer’s instructions before testing its effectiveness by spraying water over the repaired area. Properly sealed leaks will prevent further water damage and protect your roof until permanent repairs can be made.
How to Secure Loose Shingles or Tiles?
Inspecting and addressing loose shingles or tiles promptly is important to prevent further damage to your roof and maintain its structural integrity. When dealing with loose shingles or tiles, it is essential to secure them back in place to prevent water infiltration and potential leaks.
To effectively secure loose shingles or tiles, follow these steps:
| Materials Needed | Tools Required |
|---|---|
| Hammer | Utility Knife |
| Roofing Nails | Caulk Gun |
| Roofing Adhesive | Pry Bar |
- Assessment: Begin by inspecting the extent of the damage and identifying all loose shingles or tiles that need to be secured.
- Removal: Use the pry bar to carefully lift the affected shingle or tile and remove any remaining nails.
- Reattachment: Apply roofing adhesive to the underside of the shingle or tile, then press it firmly back into place.
- Securing: To guarantee a secure fit, use roofing nails to fasten the shingle or tile in its proper position.
How to Prevent Water Damage?

Implementing effective water damage prevention measures is essential for maintaining the longevity and structural integrity of your roof. To prevent water damage, start by inspecting the roof regularly for any signs of wear, such as cracked or missing shingles, deteriorated flashing, or clogged gutters.
Repair any issues promptly to make sure water does not penetrate the roof’s surface. Additionally, make certain that all roof components are properly sealed and that the flashing is intact to prevent water from seeping into the roof structure.
Properly maintaining the roof’s drainage system is important in preventing water damage. Keep gutters and downspouts clear of debris to allow for proper water flow off the roof. Consider installing gutter guards to prevent clogs and ensure water is directed away from the foundation of the building.
Proper attic insulation and ventilation are also key factors in preventing water damage by reducing the risk of ice dams and condensation buildup. By following these preventative measures, you can help safeguard your roof against water damage and prolong its lifespan.
When to Call for Emergency Roof Repair?
Call for emergency roof repair immediately upon noticing significant damage or leaks that could worsen. Key indicators include gaping holes, cracked or missing tiles, and sagging areas.
Visible sunlight through the roof or attic, water stains over three inches, indoor puddles, or leaks around electrical fixtures also require urgent attention.
In severe weather, such as storms or high winds, the risk increases, making prompt repairs essential. Engage a licensed roofing contractor for damage assessment and necessary repairs.
Timely roof maintenance protects property, preserves structural integrity, and prevents mould growth. Addressing issues quickly not only safeguards your home but also enhances its lifespan and value.
Frequently Asked Questions
How Much Do Emergency Roof Repairs Typically Cost?
Emergency roof repairs typically cost between £100 to £5,500. The price depends on factors like damage severity, materials needed, and labour costs. Location and urgency may also affect the total expense. It’s advisable to obtain detailed quotes from contractors.
Will My Insurance Cover Emergency Roof Repairs?
Yes, your insurance may cover emergency roof repairs if the damage is sudden and caused by storms or accidents. Review your specific policy details and consult your insurance provider for confirmation.
How Long Can I Wait Before Calling for Repairs?
Address visible roof issues within 24 to 48 hours to prevent further damage, increased repair costs, and safety risks. Prompt attention is crucial for maintaining structural integrity.
Can I Perform Roof Repairs Myself Legally?
Homeowners can legally perform roof repairs; however, local building codes may necessitate permits and compliance with safety regulations. It’s recommended to check municipal guidelines and consider hiring licensed contractors for optimal safety and quality.
What Are the Long-Term Consequences of Delaying Roof Repairs?
Delaying roof repairs can result in significant water damage, compromised structural integrity, escalated repair costs, and health risks due to mould proliferation. Prompt action is crucial for maintaining the safety and durability of your home.