The Application Process of Liquid Roof Waterproofing
Uncover the essential steps and techniques for applying liquid roof waterproofing, ensuring a watertight seal that lasts - dive into the details here!
The meticulous application process of liquid roof waterproofing demands precision and expertise to guarantee ideal results. From surface preparation to material compatibility, each step influences the effectiveness of the protective coating.
Understanding the nuances of application techniques like spray, roller, or brush application is important for achieving a seamless finish that enhances both functionality and aesthetics.
Additionally, factors such as drying and curing times play a significant role in the overall success of the waterproofing project.
As we explore the intricacies of liquid roof waterproofing application, a thorough understanding of best practices and key considerations will pave the way for a durable and reliable outcome.
Preparation Steps Before Application
Prior to applying liquid roof waterproofing, thorough preparation steps must be carried out to guarantee superior results and long-lasting protection. The first step involves inspecting the roof surface for any damages, cracks, or areas of concern that need to be addressed before the waterproofing material is applied. It is essential to make sure that the surface is clean, dry, and free of any debris or contaminants that could affect the adhesion of the waterproofing material.
Next, any necessary repairs should be made to the roof surface. This includes fixing leaks, replacing damaged shingles or tiles, and addressing any structural issues that could compromise the effectiveness of the waterproofing system. Once the surface is clean and in good condition, the next step is to apply a primer to enhance adhesion and guarantee a strong bond between the roof surface and the waterproofing material.
Tools Required for Application
For the perfect application of liquid roof waterproofing, specific tools tailored to the chosen application method, such as spray, roller, or brush, are essential. When opting for a spray application, an airless sprayer is typically used to make sure an even and efficient coating. This method is ideal for large surface areas and allows for quick coverage.
For roller application, a heavy-duty roller frame with an extension pole is necessary to reach all areas effectively. Additionally, high-quality, solvent-resistant roller covers are important to achieve a smooth finish.
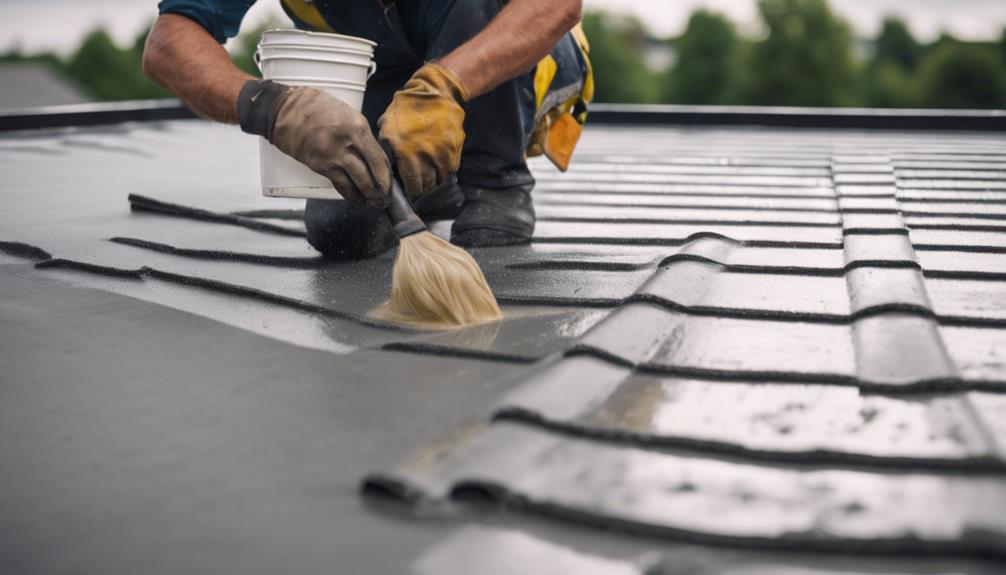
In the case of brush application, using brushes with durable bristles that can withstand the chemicals in the waterproofing material is important. Make sure the brush is appropriate for the specific type of liquid waterproofing being applied.
Having these specialized tools ready before starting the application process will help achieve a professional and long-lasting waterproofing solution.
Techniques for Applying Liquid Waterproofing

To guarantee effective and durable application of liquid waterproofing, utilizing proper techniques tailored to the chosen method is essential.
For spray application, make sure the correct nozzle size and pressure settings are used to achieve an even coat without over-application. Keep the spray gun at the recommended distance from the surface to prevent pooling or uneven coverage.
When using a roller, start by applying the liquid waterproofing in long, overlapping strokes to avoid leaving gaps. Use a medium-nap roller for best coverage and work in manageable sections to maintain a consistent thickness.
Brush application requires attention to detail, ensuring the liquid is spread evenly with no missed spots. Use a high-quality brush suitable for the type of liquid waterproofing being applied and work methodically to avoid streaks or drips.
Whichever method is chosen, following manufacturer guidelines and recommendations is critical for a successful application.
Drying Times After Application
Upon completion of the liquid waterproofing application process, it is imperative to adhere to specific drying times recommended by the manufacturer to guarantee peak performance and longevity of the waterproofing system. The drying times after application can vary depending on various factors such as temperature, humidity, and the type of liquid waterproofing product used.
Here are some important points to keep in mind regarding drying times:
- Manufacturer's Guidelines: Always refer to the manufacturer's instructions for the recommended drying times. These guidelines are essential for ensuring that the waterproofing material cures properly.
- Environmental Conditions: Factors like temperature and humidity can have a significant impact on drying times. Warmer temperatures and lower humidity levels generally lead to faster drying times.
- Thickness of Application: Thicker layers of liquid waterproofing will naturally require more time to dry completely. It is essential to allow for sufficient drying time between coats to avoid issues with the waterproofing system's effectiveness.
Curing Times for Effective Waterproofing

Ensuring the best curing times for liquid waterproofing is essential to achieving a durable and effective waterproofing system that withstands environmental elements and provides long-lasting protection. The curing time for liquid waterproofing products can vary depending on factors such as temperature, humidity, and the specific product being used. Generally, liquid waterproofing membranes require adequate time to cure and form a seamless barrier that effectively protects the surface.
In ideal conditions, liquid waterproofing products typically have a curing time of around 24 to 48 hours. However, it is important to follow the manufacturer's guidelines regarding curing times to guarantee the product's effectiveness. Insufficient curing time can result in a compromised waterproofing system that may lead to leaks and water damage.
To expedite the curing process, proper ventilation and ideal temperature conditions should be maintained. Additionally, factors like substrate porosity and thickness of the applied waterproofing layer can also influence curing times. By allowing the liquid waterproofing membrane to cure thoroughly, you can ensure a strong and long-lasting waterproofing solution for your roof.
Frequently Asked Questions
Can Liquid Roof Waterproofing Be Applied in Cold Weather Conditions?
Liquid roof waterproofing can be applied in cold weather conditions with proper considerations. Make sure the product is stored at recommended temperatures, use specialized equipment for application, and follow manufacturer guidelines for cold weather application to achieve best results.
How Long Does Liquid Waterproofing Typically Last Before Needing to Be Reapplied?
Liquid waterproofing typically lasts 5-10 years before needing reapplication. Factors such as climate, UV exposure, and maintenance affect longevity. Regular inspections and recoating can prolong lifespan. Consult manufacturer guidelines for specific recommendations based on product type.
Is It Possible to Apply Liquid Waterproofing Over Existing Roof Coatings or Sealants?
Yes, liquid waterproofing can be applied over existing roof coatings or sealants. However, it's important to confirm compatibility and proper preparation to achieve best adhesion and performance. Consult manufacturer guidelines and consider surface condition for successful application.
Are There Any Special Precautions to Take When Applying Liquid Waterproofing Near Gutters or Downspouts?
When applying liquid waterproofing near gutters or downspouts, maintain proper drainage by keeping these areas clean and free from debris. Use caution to prevent the product from entering the gutter system, which could lead to clogs.
Can Liquid Roof Waterproofing Be Used on All Types of Roofing Materials, or Are There Limitations?
Liquid roof waterproofing can be applied to various roofing materials, including metal, concrete, and asphalt. However, it may not be suitable for certain surfaces like rubber or PVC roofs due to compatibility issues.
