How Do You Install a Copper Lead Roof?
A meticulous approach to installing a copper lead roof can transform a functional project into something truly exceptional - discover the key nuances here.
Installing a copper lead roof requires precision, skill, and attention to detail. Every step from preparation and planning to the installation, must be carefully executed to ensure a durable and visually appealing result.
Using this guide, we will walk you through the essential steps and techniques for installing a copper lead roof, providing you with a comprehensive overview.
What Steps Should Be Taken Before Installing a Copper Lead Roof?
Before installing a copper lead roof, the initial step involves meticulously preparing the roof surface to establish a solid foundation for the roofing materials. This preparation is vital to guarantee the longevity and effectiveness of the copper lead roof. The first task is to inspect the roof for any signs of damage, such as leaks, cracks, or rot. Any issues must be addressed and repaired before proceeding with the installation.
Once the roof surface is deemed sound, the next step is to clean the area thoroughly. This involves removing any debris, dirt, or old roofing materials that could interfere with the adhesion of the copper sheets. Special attention should be paid to ensure the surface is completely dried before proceeding to the next stage.
After cleaning, the roof surface must be primed to enhance the bond between the copper sheets and the substrate. A high-quality primer designed for metal roofing should be applied evenly across the surface. This step is essential for promoting adhesion and preventing corrosion over time.
How Do You Lay Copper Sheets for Copper Lead Roof?
When laying copper sheets for a lead roof installation, guarantee meticulous attention to detail and precision to achieve a seamless and durable roofing system. The process begins by measuring and cutting the copper sheets to fit the dimensions. Use specialized tools such as metal shears or a utility knife to make clean and precise cuts. Before laying the sheets, prepare the surface by applying a high-quality roofing underlayment to prevent moisture infiltration.
Next, carefully position the copper sheets starting from the eaves and working your way upwards towards the ridge. Overlap each sheet by a minimum of 3 inches to create a watertight seal. Secure the copper sheets in place using copper nails or screws, making sure to fasten them at the designated intervals to prevent any potential lifting or movement during extreme weather conditions.
How to Seamlessly Integrate Lead Flashing to Copper Lead Roof?

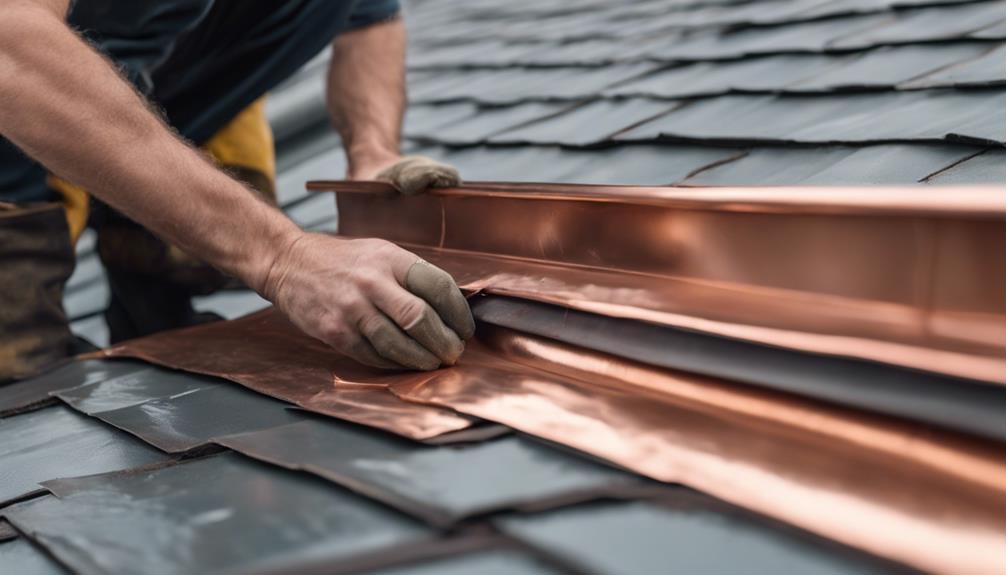
To seamlessly integrate lead flashing into the copper lead roof installation, meticulous attention to detail and precise execution are essential. Lead flashing is important for waterproofing and protecting vulnerable areas of the roof, such as joints, valleys, and chimneys. Proper integration guarantees a watertight seal and enhances the overall durability of the roof. Below is a table outlining the steps involved in integrating lead flashing into the copper lead roof installation:
| Steps to Integrate Lead Flashing |
|---|
| 1. Measure and cut lead flashing to the required length. |
| 2. Fold and shape the lead flashing to fit the specific area securely. |
| 3. Ensure the flashing overlaps correctly to prevent water seepage. |
| 4. Secure the lead flashing in place using appropriate fasteners. |
| 5. Seal all joints and edges with lead sealant to enhance water resistance. |
Following these steps diligently will guarantee a well-integrated lead flashing system that complements the copper lead roof installation.
How Can You Secure Copper Lead Roof with Copper Nails?
Securing the lead flashing with copper nails is an important step in ensuring the structural integrity and longevity of the copper lead roof installation. Copper nails are preferred for this task due to their resistance to corrosion and compatibility with the lead material. When securing lead flashing with copper nails, it is important to use the appropriate size and length to penetrate both the lead flashing and the substrate beneath.
To secure the lead flashing with copper nails correctly, start by positioning the flashing in place and ensuring it is flat and without wrinkles. Then, using a hammer, carefully drive the copper nails through the lead flashing and into the substrate below. The nails should be spaced evenly along the edges of the flashing to provide adequate support and prevent any potential lifting or movement due to wind or other external factors.
How Can You Ensure a Durable Roofing System?

For a roofing system that stands the test of time, meticulous attention to material selection, installation techniques, and regular maintenance is essential.
When aiming for a durable roofing system, choose high-quality materials that withstand harsh weather conditions and environmental factors. Copper and lead, known for their longevity and durability, are excellent choices for roofing materials.
Proper installation techniques are equally important. It is to ensure that the roofing components are installed correctly, following manufacturer guidelines and industry best practices. This includes the proper flashing installation, secure fastening, and appropriate underlayment.
Regular maintenance is key to preserving the integrity of the roofing system. Conduct routine inspections to identify and address any issues promptly. Clean the roof surface regularly to prevent debris buildup and inspect for signs of damage.
Frequently Asked Questions
How Long Does a Copper Lead Roof Typically Last Compared to Other Roofing Materials?
The longevity of a copper lead roof surpasses many common roofing materials due to its durability and resistance to corrosion. A copper lead roof can last 100 years or longer if installed and maintained correctly.
Are There Any Special Maintenance Requirements for a Copper Lead Roof?
When considering special maintenance requirements for a copper lead roof, it is important to prioritize regular inspections for signs of corrosion, proper drainage to prevent water buildup, and periodic cleaning to maintain its aesthetic appeal and functionality.
Can a Copper Lead Roof Be Easily Repaired if Damaged?
Skilled professionals can repair a damaged copper lead roof using techniques, such as soldering, patching, or replacing damaged sections. Ensure the materials and techniques match properly to maintain the roof’s integrity.
Are There Any Environmental Benefits to Choosing a Copper Lead Roof?
Selecting a copper lead roof offers environmental benefits due to the material’s recyclability, durability, and energy efficiency. Copper can be reused indefinitely, requires minimal maintenance, and reflects sunlight, reducing cooling needs and energy consumption.
Are There Any Specific Building Codes or Regulations That Need to Be Followed When Installing a Copper Lead Roof?
Following building codes and regulations when installing a copper lead roof is crucial. These rules ensure the roof is structurally sound, safe, and meets industry standards. They cover material specifications, installation methods, and safety measures.
