
How to Install Metal Roofing?
Yearning to learn the secrets of flawless metal roof installation?
Installing a metal roof involves a series of precise steps that require attention to detail and expertise.
From preparing the roof deck to adding finishing touches, each stage in the installation process plays a vital role in ensuring the durability and functionality of the roofing system.
The meticulous placement of metal roof panels and the proper securing of the entire structure are key aspects that can make or break the effectiveness of the roof.
How to Prepare the Rooftop Deck?
Before installing a metal roof, thorough preparation of the roof deck is crucial. Start by removing the old roofing material and inspecting the roof deck for any damage. Replace any rotten or damaged wood and ensure the deck is clean and dry.
Install a waterproof underlayment to provide an additional layer of protection against moisture. This step is essential for preventing leaks and extending the lifespan of the metal roof.
Moreover, the roof deck is checked for proper ventilation and insulation to enhance the overall energy efficiency of the building. Adequate ventilation helps prevent moisture buildup, which can lead to mould growth and structural damage.
Additionally, installing a layer of underlayment, such as roofing felt or a synthetic membrane, is essential to provide an extra barrier against moisture and to ensure a smooth surface for the metal panels.
By meticulously preparing the roof deck, installers can guarantee a durable and long-lasting metal roofing system for the property.
How to Install Underlayment and Insulation?
To guarantee peak performance and energy efficiency of the metal roofing system, the installation process progresses with the meticulous placement of underlayment and insulation layers.
Underlayment serves as a protective barrier against moisture, while insulation helps regulate temperature and reduce energy costs.
Accurate measurements are vital for a successful installation. Measure the roof to determine the number of panels needed, accounting for overlaps and trim.
Here is a breakdown of the key steps involved in installing underlayment and insulation:
| Step | Description | Materials Needed |
|---|---|---|
| 1. Clean Surface | Ensure the roof deck is clean and free of debris before starting installation. | Broom, vacuum cleaner |
| 2. Underlayment | Roll out underlayment sheets starting from the bottom and working upwards. | Underlayment sheets, staples |
| 3. Insulation Layer | Place insulation boards over the underlayment for added energy efficiency. | Insulation boards, adhesive |
| 4. Seal Joints | Seal any gaps or joints in the insulation to prevent air leakage. | Insulation tape, sealant |
| 5. Verify Coverage | Double-check the coverage of both underlayment and insulation for full protection. | Tape measure, utility knife |
What Should Be Considered When Placing Metal Roof Panels?
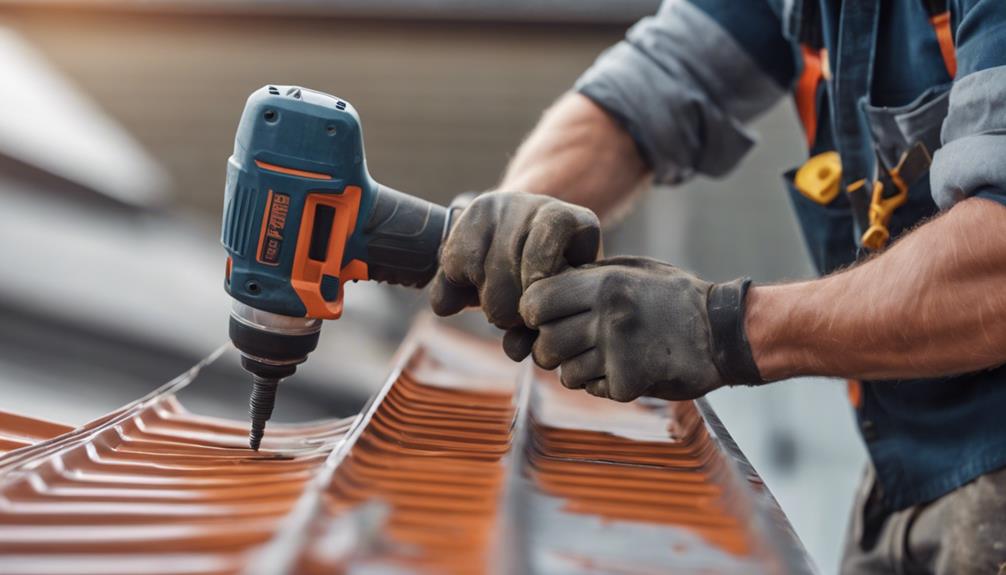
Efficiently securing metal roof panels is an important step in completing the installation process with precision and durability. Start laying the metal panels from the bottom edge of the roof, working your way up. Align the first panel with the roof edge and secure it using screws designed for metal roofing.
Place the screws through the raised ribs of the panel, ensuring they are evenly spaced. Overlap the next panel over the first one and secure it similarly. Continue this process, maintaining a straight line and ensuring each panel is properly aligned.
When installing metal roof panels, begin at one end of the roof and work your way across, ensuring each panel overlaps the previous one to prevent leaks. Follow the manufacturer’s instructions for spacing and placing fasteners to secure the panels properly. Well-installed metal roof panels not only look great but also offer durable protection against the weather.
How to Safely Secure Metal Roofing Panels?
Properly securing the panels is critical for the roof’s durability. Securing the roofing system involves ensuring that all components are properly fastened and interconnected to create a stable and weather-resistant structure. To achieve this, the following steps are essential:
- Fastening Roof Panels: Use screws with rubber washers to prevent leaks and ensure a tight seal. Make sure they are driven in straight to prevent leaks and maintain the integrity of the roof. Place the screws at regular intervals, following the manufacturer’s recommendations for spacing. Avoid over-tightening the screws, as this can damage the panels and compromise the roof’s integrity.
- Installing Flashing: Properly install flashing around roof penetrations, such as chimneys, vents, and skylights. This prevents water from seeping into the roof and causing damage.
- Sealing Joints: Apply sealant or caulk to all joints, seams, and connections to create a watertight barrier. This step is vital for preventing water infiltration and maintaining the roof’s durability.
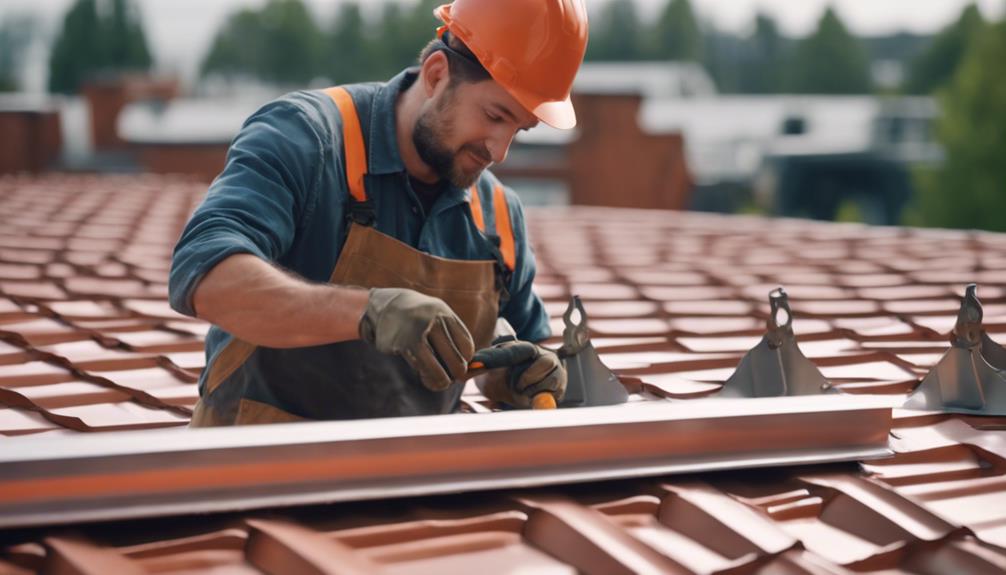
- Attaching Ridge Caps: Ridge caps also help prevent pests from entering the roof space. The ridge cap covers the peak of the roof and seals the gap between the two sides. Center the ridge cap over the ridge and secure it with screws, ensuring it overlaps the top edge of the panels on both sides. The ridge cap not only provides a finished look but also prevents water from entering the roof’s peak.
What Should Be Checked During the Final Inspection of a Roof Installation?
After all the panels are in place, the final steps involve adding the finishing touches that contribute to the roof’s durability and aesthetic appeal.
Install ridge caps along the roof’s peak to seal the edges and prevent water from seeping under the panels. Apply sealant around vents, chimneys, and any other roof penetrations to create a watertight barrier.
Conduct a thorough inspection of the roof. Inspect the roof for any loose screws or panels. Ensure all edges are secure and there are no gaps. Check for proper alignment, secure fittings, and overall appearance.
Apply sealant to any areas that require extra protection against moisture. Ensure all components, such as flashing, ridge caps, and panels, are correctly installed. Clean up any debris and dispose of the old roofing material properly. A final inspection ensures the roof is not only visually appealing but also structurally sound and weatherproof.
Frequently Asked Questions
How Do I Properly Maintain and Clean My Metal Roof After Installation?
Properly maintaining and cleaning a metal roof after installation involves regular inspections for damage, clearing debris, trimming overhanging branches, and cleaning with a gentle solution and soft brush. Follow the manufacturer’s guidelines for specific care instructions.
What Are the Best Practices for Preventing Leaks and Water Damage With a Metal Roof?
To prevent leaks and water damage with a metal roof, it’s important to make sure of proper installation, regular inspections, and maintenance. Addressing any damaged panels, flashings, or sealants promptly, along with clearing debris and making sure of proper drainage, will help maintain the roof’s integrity.
Are There Any Special Considerations or Precautions to Take When Installing a Metal Roof in Extreme Weather Conditions?
When installing a metal roof in extreme weather conditions, special considerations include ensuring proper fastening to withstand high winds, using appropriate sealants to prevent water infiltration, and taking safety precautions for workers to avoid accidents in challenging environments.
Can a Metal Roof Be Easily Repaired if It Gets Damaged in the Future?
Metal roofs can be easily repaired if damaged in the future. Experienced professionals can efficiently assess and fix issues like dents, leaks, or loose panels. Regular maintenance and timely repairs guarantee the longevity of a metal roof.
Is It Possible to Add Solar Panels or Other Attachments to a Metal Roof Without Compromising Its Integrity?
It is possible to add solar panels or other attachments to a metal roof without compromising its integrity. Proper installation techniques and support systems can guarantee the structural strength and longevity of the roof while accommodating additional features.