What Are the Step by Step Processes in Installing Skylight?
Open up new possibilities in your home with the captivating process of skylight installation - discover the key steps that will transform your living space!
In the domain of home improvement projects, few undertakings are as transformative and rewarding as installing a skylight.
The step-by-step process of bringing natural light into a living space involves meticulous planning, precise execution, and attention to detail.
From selecting the best location for installation to guaranteeing a seamless waterproofing process, each stage plays a critical role in the skylight’s long-term success.
However, the true magic lies in the final touches and quality checks that not only complete the project but also secure its functionality and aesthetic appeal.
What Factors Should You Consider When Selecting the Installation Location?
When starting on the skylight installation process, the first step involves strategically selecting the best location for installation within the designated space.
To determine the best placement, consider factors such as the positioning of roof trusses, the direction of sunlight, and the layout of the room below.
Skylights placed on the south-facing side of a roof will receive more direct sunlight throughout the day, while those on the north side will provide a more consistent, but less intense, light.
It is essential to assess the structural integrity of the chosen location to make sure it can support the weight of the skylight and withstand potential weather conditions. Additionally, take into account any potential obstructions such as trees or neighboring buildings that could block sunlight or hinder the installation process.
What Steps Are Involved in Preparing the Site for Installation?
To ascertain a successful skylight installation process, meticulous attention must be paid to preparing the site with precision and thoroughness.
The first step is to make certain the area where the skylight will be installed is clear of any obstructions. This includes removing any furniture, decorations, or debris that could impede the installation process.
Next, the roof around the installation site must be inspected to confirm it is structurally sound and free of any damage. Any necessary repairs should be conducted before proceeding.
Additionally, it is vital to verify the dimensions of the skylight to confirm it aligns with the planned installation location. This step helps prevent any discrepancies that could arise during the installation process.
How Do You Prepare for Cutting the Roof Opening?

The precise process of cutting the roof opening for the skylight installation involves meticulous measurements and careful planning to guarantee a seamless integration with the existing structure.
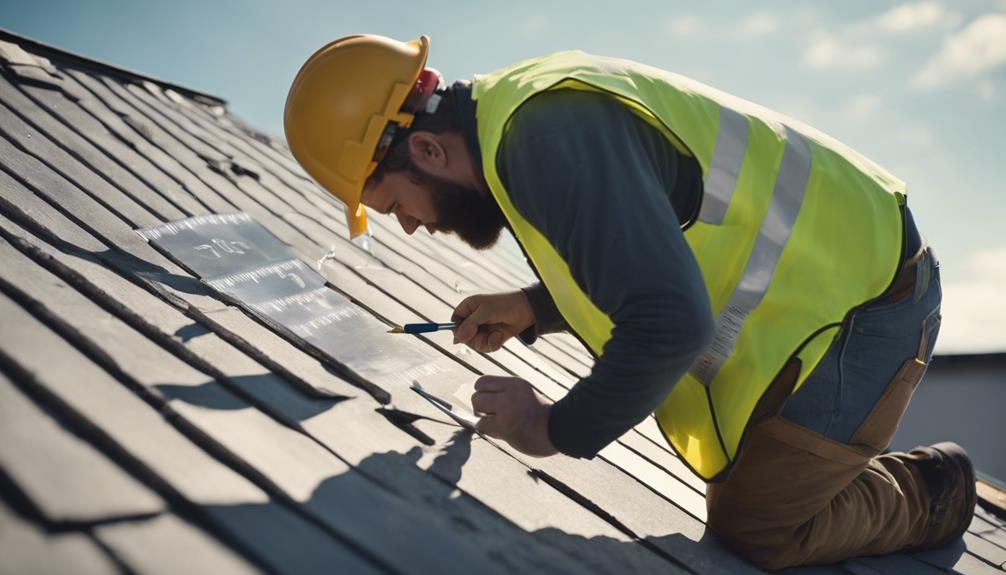
Before cutting into the roof, it is important to mark the exact dimensions of the skylight opening based on the manufacturer’s specifications. This step makes sure that the opening will accommodate the skylight frame perfectly.
Next, using appropriate tools like a reciprocating saw or a circular saw, the marked area of the roof is carefully cut out, following the outlined measurements. It is essential to exercise caution during this phase to prevent damage to the surrounding roof structure.
Once the opening is cut, any debris or excess materials are cleared away to prepare the space for the next steps in the installation process. Cutting the roof opening accurately is a critical initial step that sets the foundation for a successful and secure skylight installation.
How to Achieve Effective Waterproofing of Skylight?
After cutting the roof opening for the skylight installation, the next important step is ensuring the proper waterproofing of the skylight to prevent any potential water leakage issues.
To achieve effective waterproofing, start by applying a high-quality waterproof membrane around the perimeter of the skylight curb. This membrane acts as a barrier against water infiltration, safeguarding the interior of the building.
Next, install metal flashing around the skylight curb to provide additional protection against water seepage. The flashing should overlap the waterproof membrane to create a watertight seal. Properly sealing all seams and joints with a compatible sealant is essential to prevent any gaps where water could penetrate.
After the membrane and flashing are in place, conduct a thorough inspection to make sure there are no gaps or areas susceptible to leaks. Testing the waterproofing by simulating heavy rain or using a hose to check for any signs of water intrusion is a prudent final step before proceeding to the next stage of the skylight installation process.
What Are the Key Elements of Finishing Touches and Quality Checks?

Upon completion of the essential waterproofing steps, meticulous attention to finishing touches and quality checks is imperative to make certain the skylight installation meets the highest standards of functionality and durability.
Once the waterproofing materials have set, the surrounding area should be thoroughly inspected for any gaps or areas that may compromise the integrity of the installation. Sealant should be applied to guarantee a watertight seal and prevent any potential leaks.
Additionally, checking the operability of the skylight is critical at this stage. Open and close the skylight to confirm smooth functionality and proper alignment. Quality checks should also include inspecting for any visible defects, such as scratches or dents, which could impact the aesthetics and performance of the skylight.
Frequently Asked Questions
How Can I Ensure That My Skylight Installation Doesn’t Void My Roof Warranty?
To prevent voiding your roof warranty during skylight installation, guarantee proper installation by hiring a certified professional. Follow manufacturer guidelines meticulously, use compatible flashing, and regularly maintain your skylight. Inform your roofing company to guarantee compliance with warranty terms.
Are There Any Special Considerations to Take Into Account When Installing a Skylight on a Flat Roof Versus a Pitched Roof?
When installing a skylight on a flat roof versus a pitched roof, considerations must be made for drainage, waterproofing, and structural support. Proper flashing, weatherproofing, and skilled installation are essential for both roof types.
What Steps Should I Take to Maintain the Cleanliness and Clarity of My Skylight Over Time?
To maintain the cleanliness and clarity of your skylight over time, regular cleaning is essential. Use a mild soap or specialized skylight cleaner, soft cloth or sponge, and water to remove dirt and grime. Inspect for any damage periodically.
Can Skylights Be Installed in Areas With Extreme Weather Conditions, Such as High Winds or Heavy Snow?
Skylights can be installed in areas with extreme weather conditions like high winds or heavy snow, but it’s important to use proper installation techniques and materials to guarantee their durability and resistance to such challenges.
Are There Any Energy-Efficient Options for Skylights That Can Help Reduce Heating and Cooling Costs in My Home?
Energy-efficient skylights offer advanced glazing technologies, insulated frames, and UV coatings to reduce heat transfer and control light levels. These options help minimize heating and cooling costs, enhance indoor comfort, and contribute to sustainability in residential spaces.