DIY Roof Sealing
Nurture your home's longevity with DIY Roof Sealing - discover essential tips for a successful project and lasting protection.
Maintaining the structural integrity of your home’s roof is an important aspect of property upkeep. DIY roof sealing has become a popular choice among homeowners looking to protect their investments. However, the process entails more than just applying a sealant; it involves precision, understanding of materials, and adherence to safety protocols.
Before grabbing your tools and climbing up, there are critical factors to ponder. By exploring the nuances of DIY roof sealing, you can make sure that your project yields the desired results and safeguards your home effectively.
Tools and Materials Needed
To effectively seal a roof, the essential tools and materials needed include a caulking gun, roofing sealant, safety harness, ladder, and a putty knife. The caulking gun is vital for applying a controlled and even bead of sealant along the seams and edges of the roof. It allows for precision and prevents wastage of the sealant. Roofing sealant is the primary material used to seal any gaps, cracks, or joints on the roof to prevent water leakage. It is important to choose a high-quality sealant that is weather-resistant and durable.
A safety harness is necessary to guarantee the safety of the person working on the roof. It provides fall protection and should always be worn when working at heights. A sturdy ladder is essential for accessing the roof safely and securely. It should be the appropriate height for the roof and be placed on stable ground.
Pros and Cons of DIY Approach
When considering the approach to sealing a roof, it is important to weigh the advantages and disadvantages of opting for a do-it-yourself method. DIY roof sealing can be a cost-effective solution for those who are comfortable working on home improvement projects and have some experience with roofing. However, there are also drawbacks to think about before starting on this task.
| Pros | Cons |
|---|---|
| Cost-effective | Safety risks |
| Flexibility in scheduling | Lack of professional expertise |
| Sense of accomplishment | Potential for errors |
| Opportunity to learn new skills | Voiding of roof warranty |
Choosing to seal your roof yourself can save money and provide a sense of achievement, but it also comes with safety risks, the possibility of making mistakes, and the potential to void the roof’s warranty. Before deciding on a DIY approach, carefully think about these pros and cons to make sure the best outcome for your roof sealing project.
Risks and Limitations to Consider

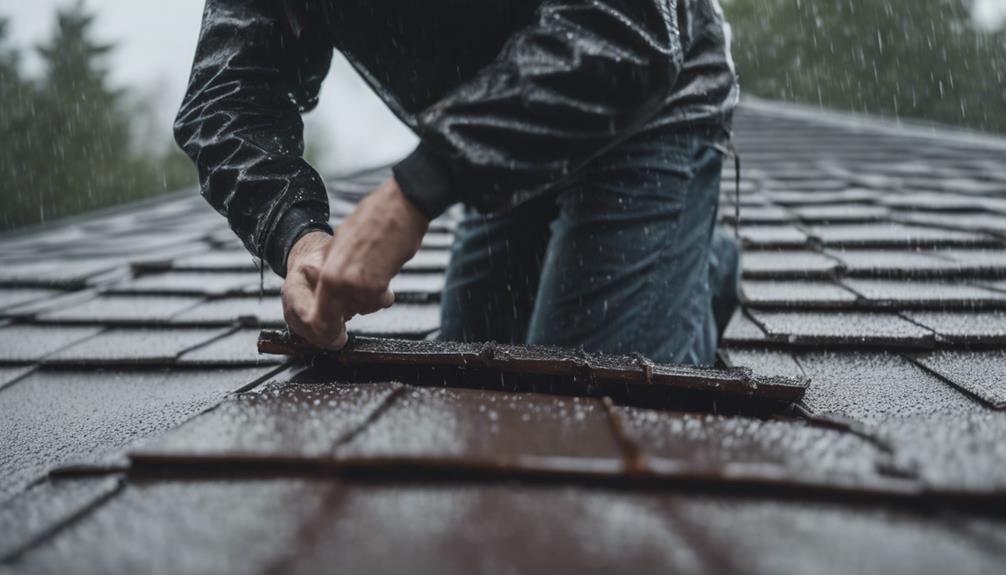
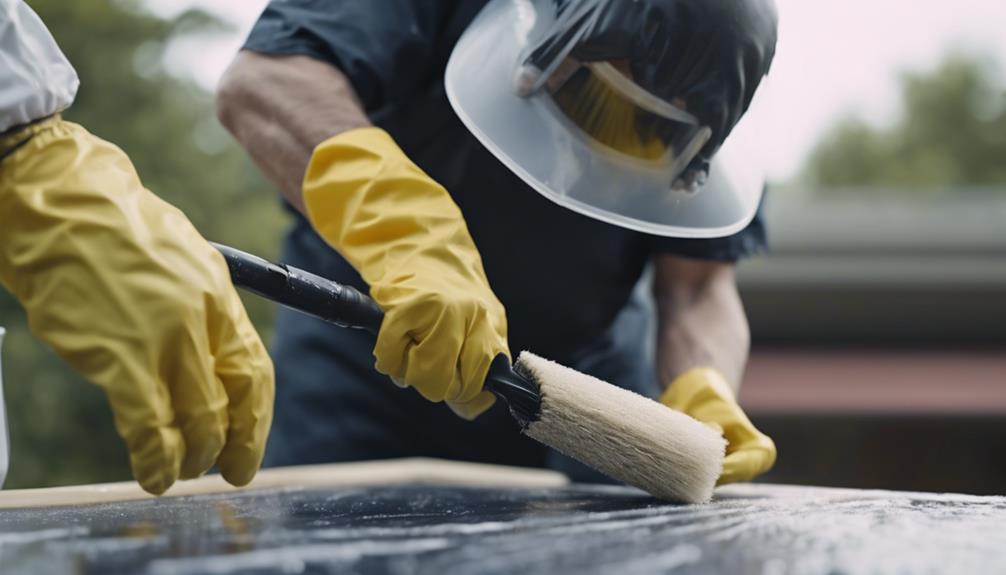
Considerations for roof sealing entail evaluating the associated risks and limitations to guarantee a successful and safe outcome. One major risk to take into account is working at heights, which can lead to falls and serious injuries if proper precautions are not taken. Weather conditions also pose a risk, as working on a roof during rain or strong winds can be dangerous. Another risk is the potential for exposure to harmful chemicals present in some sealants, which can pose health risks if proper protective equipment is not used.
Limitations to keep in mind include the complexity of the task. Roof sealing requires attention to detail and specific techniques to make sure of effectiveness. Inexperienced individuals may struggle with identifying areas that need sealing or applying the sealant correctly. Additionally, the type of roof material can limit the effectiveness of certain sealants. It is important to choose a sealant that is compatible with the roof material to achieve the desired results. Understanding these risks and limitations is important for a successful DIY roof sealing project.
Checklist for Preparation
Effective roof sealing begins with a thorough checklist for thorough preparation. Before starting the roof sealing process, it is important to make sure that all necessary steps are taken to guarantee a successful outcome. Here is a checklist to follow:
| Preparation Step | Description | Importance |
|---|---|---|
| Clear Debris | Remove any debris such as leaves, branches, and dirt from the roof surface. | Prevents interference |
| Inspect for Damage | Check for any signs of damage like cracks, holes, or rust that may need repair before sealing. | Ensures proper sealing |
| Clean the Surface | Wash the roof to remove dirt, grime, and mold using a suitable cleaner and a pressure washer. | Improves adhesion |
Step-by-Step Application Guide

To guarantee a successful roof sealing process, following a thorough preparation checklist is crucial before moving on to the step-by-step application guide. Once all preparatory steps have been completed, begin by carefully inspecting the roof surface for any signs of damage or areas needing repair. Address any issues found before proceeding.
Next, make sure that the weather conditions are ideal for roof sealing – a dry and moderately warm day is preferable. Begin by mixing the sealant as per the manufacturer’s instructions, using a high-quality brush or roller for application. Start at one end of the roof and work your way methodically across, ensuring an even and consistent application of the sealant. Pay close attention to seams, edges, and any protrusions on the roof surface, as these areas are prone to leaks.
Apply multiple coats as necessary, allowing sufficient drying time between each layer. Finally, inspect the sealed roof carefully to guarantee full coverage and effectiveness before considering the job complete.
Frequently Asked Questions
Can Roof Sealing Be Done in Extreme Weather Conditions, Such as During Heavy Rain or Extreme Heat?
Roof sealing should not be attempted in extreme weather conditions, such as heavy rain or extreme heat. These conditions can compromise the effectiveness of the sealant, leading to poor adhesion and potentially hazardous working conditions.
How Long Does Roof Sealing Typically Last Before Needing to Be Re-Done?
The duration of roof sealing’s effectiveness varies based on factors like material used, weather conditions, and application technique. Typically, roof sealing lasts 3-7 years before needing reapplication. Regular inspections help detect signs of wear, ensuring timely maintenance.
Is It Safe to Walk on the Roof After Sealing It, or Is There a Waiting Period Before It Can Be Walked On?
After sealing a roof, it is generally safe to walk on it. However, it is recommended to wait 24-48 hours for the sealant to fully cure before any heavy foot traffic. Always follow safety guidelines and wear appropriate gear.
Can Roof Sealing Be Applied Over Existing Leaks, or Should Leaks Be Repaired Before Sealing?
Roof sealing can be applied over existing leaks, but it is recommended to repair leaks beforehand to guarantee long-term effectiveness. Addressing underlying issues prevents further damage and maximizes the sealing’s performance.
Are There Any Special Considerations or Precautions to Take if the Roof Has Solar Panels or Other Installations on It?
Special considerations for roofs with solar panels include ensuring the integrity of panel connections, avoiding damage to wiring or panels during work, and following manufacturer guidelines. Precautions involve working around panels safely, using appropriate tools and techniques.