
How to Install Roof Tile?
Beneath the surface of tile roofing installation lies a world of intricate details that can make or break the outcome - uncover the secrets within.
The installation process of tile roofing demands precision and expertise to ensure a durable and visually appealing outcome.
From the meticulous selection of underlayment materials to the final touches, each step plays an important role in the longevity of the roof.
However, beyond the surface-level considerations, there are intricate details and techniques involved that are often overlooked.
Let’s explore the intricacies of the installation process, shedding light on the essential steps that contribute to a successful tile roofing project.
How To Prepare for a Tile Roof Installation?
Typically, before commencing the tile roofing installation process, thorough roof preparation is essential to guarantee a stable foundation for the new roofing system.
The initial step involves a detailed inspection of the existing roof structure to identify any issues that may need addressing before the tile installation can proceed.
This inspection should encompass evaluating the integrity of the roof deck, identifying areas of damage or deterioration that require repair, and ensuring that the roof is structurally sound to support the weight of the new tiles. Any necessary repairs or reinforcements should be carried out at this stage to prevent potential issues once the tiles are in place.
In addition to structural considerations, proper roof preparation involves ensuring that the surface is clean, free of debris, and adequately ventilated. Any existing roofing materials, such as shingles or underlayment, should be removed to create a smooth and even base for the new tiles.
Furthermore, the roof should be properly waterproofed and primed to enhance the adhesion of the tile roofing system and provide long-lasting protection against the elements.
How Do You Install Underlayment?
Before proceeding with the installation of the underlayment for the tile roofing system, it is important to make sure that the roof deck is structurally sound and prepared to provide a stable foundation for the subsequent layers.
The underlayment plays a critical role in waterproofing the roof and protecting it from elements like rain, snow, and debris. Here is a detailed breakdown of the underlayment installation process:
1. Clean the Deck: Ensure the roof deck is clean and free of any debris that could affect the underlayment’s adhesion
2. Install Drip Edge: Secure the drip edge along the eaves to direct water into the gutters and prevent water damage.
3. Lay Underlayment: Roll out the underlayment starting from the bottom and working your way up, overlapping each row properly.
4. Cut and Seal: Trim the underlayment to fit edges and protrusions, sealing any seams or joints to ensure a watertight barrier.Roofing cement, scissors
5. Inspect: Check the entire underlayment installation for any imperfections or gaps that could compromise its efficiency.
Following these steps meticulously will ensure a proper underlayment installation, setting the stage for the next phase of tile placement.
How Do You Put Tile in Place?
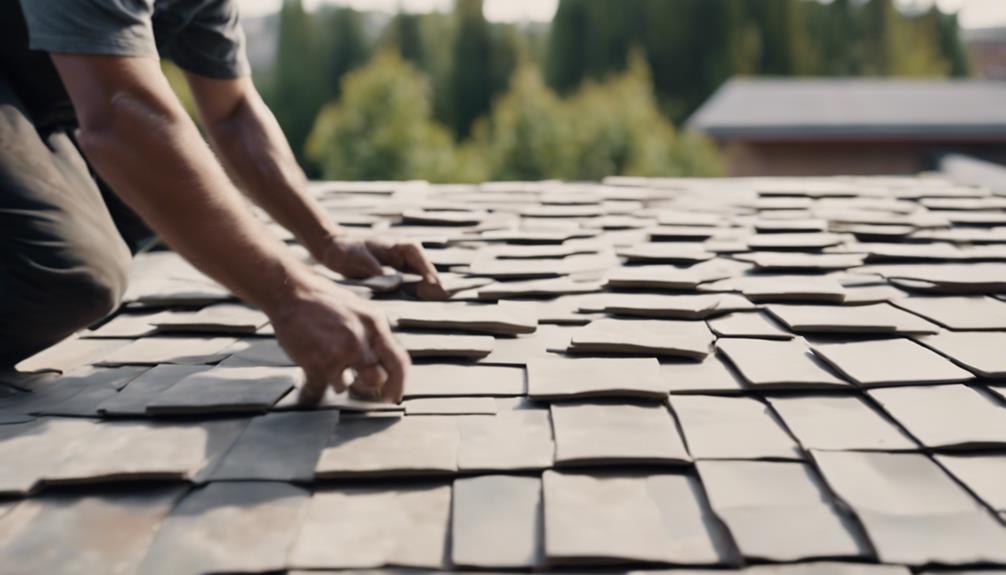
To ensure a seamless and durable tile roofing system, precise and methodical tile placement is important for both aesthetic appeal and structural integrity.
Proper tile placement ensures that the roof not only looks visually appealing but also functions effectively in protecting the building from the elements. Here are some key points to take into account when placing tiles on a roof:
- Alignment: Ensuring that each tile is aligned correctly with the adjacent tiles is essential for a uniform and professional finish. Misaligned tiles can not only affect the aesthetics but also compromise the overall strength of the roof.
- Overlapping: Tiles should be overlapped according to the manufacturer’s guidelines to prevent water infiltration. Proper overlapping creates a watertight barrier that enhances the roof’s durability and weather resistance.
- Fastening: Securely fastening each tile to the roof deck is important to prevent uplift during high winds. Using the recommended fasteners in the designated locations will help maintain the stability of the entire roofing system.
How to Install Ridge Flashing?
To install ridge flashing, you must be paid to make sure that ridge tiles are securely attached and aligned to create a uniform and watertight seal. Additionally, mortar or other suitable adhesives should be applied to bond the ridge tiles firmly in place, enhancing the structural integrity of the roof.
Implementing proper flashing and ridge installation is essential in ensuring the long-term effectiveness and durability of a tile roofing system. Flashing, typically made from metal or other weather-resistant materials, is used to prevent water penetration at intersections, roof edges, and other vulnerable areas.
It is vital to install flashing around chimneys, skylights, vents, and any roof protrusions to maintain a watertight seal. Properly installed flashing directs water away from these critical areas, preventing leaks and water damage.
Ridge installation involves placing ridge tiles along the peak of the roof to provide a protective covering and enhance the overall aesthetics of the roof. Ridge tiles are specially designed to cover the gap where two sloping sides of the roof meet, offering additional protection against weather elements.
How to Complete the Finishing Touches of Tile Roof Installation?
With the flashing and ridge installation completed, attention can now shift towards the meticulous execution of the finishing touches to enhance the overall quality and longevity of the tile roofing system. These final steps are critical in ensuring a durable and aesthetically pleasing finish to the roof structure:
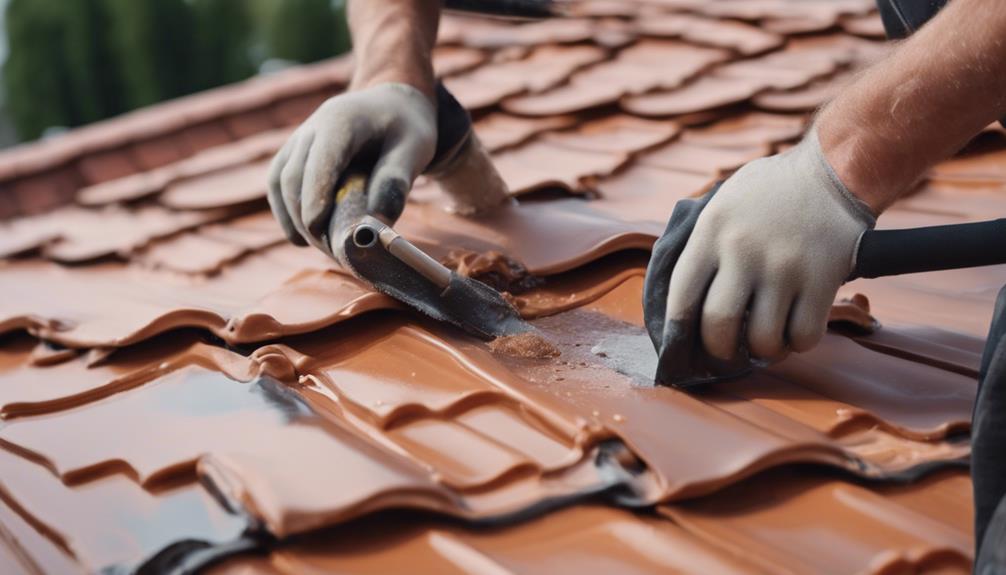
- Sealing: Proper sealing of all exposed nail heads and cuts in the underlayment is essential to prevent water infiltration and potential leaks. High-quality roofing sealant should be carefully applied to these areas to guarantee a watertight seal.
- Trimming: Precise trimming of any excess materials, such as overhanging tiles or underlayment, not only enhances the overall appearance of the roof but also helps improve its performance by eliminating potential weak points.
- Inspection: A thorough inspection of the entire roofing system is imperative at this stage. This includes checking for any loose tiles, ensuring proper alignment, and confirming that all components are securely in place. Conducting a thorough inspection will help identify and address any issues before they escalate, ensuring the roof’s longevity and functionality.
Frequently Asked Questions
Can I Install Tile Roofing Over My Existing Shingles?
Installing tile roofing over existing shingles can be done, but it’s critical to make sure the roof structure can support the added weight. Consult a professional to assess feasibility, address potential issues, and ensure proper installation for long-term durability.
How Do I Know if My Roof Is Structurally Sound Enough to Support Tile Roofing?
Evaluating the structural integrity for tile roofing involves examining factors such as roof slope, framing design, and load-bearing capacity. Consulting with a structural engineer guarantees an accurate evaluation and determines if reinforcements are necessary for supporting tile roofing effectively.
What Are the Advantages of Using Synthetic Underlayment Vs. Traditional Felt Underlayment?
Synthetic underlayment offers superior durability, water resistance, and UV protection compared to traditional felt underlayment. It is lightweight, easier to install, and provides better protection during the construction process. Additionally, synthetic underlayment has a longer lifespan, reducing maintenance costs over time.
Do I Need to Use Special Tools or Equipment to Cut and Shape the Tiles During Installation?
Specialized tools are essential for cutting and shaping tiles during installation. Tile nippers, wet saws, and tile cutters are commonly used. Proper equipment guarantees precise cuts, minimizes breakage, and results in a professional finish.
How Do I Prevent Water Leakage Around Protrusions Such as Chimneys or Vents With Tile Roofing?
To prevent water leakage around protrusions like chimneys or vents with tile roofing, it is important to guarantee proper installation of flashing. Properly fitted and sealed flashing around these areas will create a watertight barrier, safeguarding your roof and interiors.