
What Are the Steps in DIY Chimney Cap Replacement?
Replacing a chimney cap involves a series of precise steps to guarantee proper installation and functionality, beginning with accurately measuring the flue dimensions.
First, identify the type of chimney and take necessary measurements, including the outside dimensions for a single-flue chimney or the diameter for a round flue.
Next, drill pilot holes in the crown using a masonry bit that is slightly smaller than the screws being used. This guarantees a secure fit and prevents cracking.
Apply a wavy line of caulk around the edge of the crown to create a weather-tight seal. Position the cap carefully on the crown, aligning the holes drilled earlier with those on the cap.
Secure the cap by driving screws through the aligned holes, ensuring that the cap covers the flue by 1 to 3 inches while maintaining at least 5 inches of space between the top edge of the flue and the cap lid. This spacing promotes ideal airflow.
The specific measurements may vary depending on whether the chimney is single-flue or multi-flue, so attention to detail is critical throughout the process to avoid any installation issues.
Tools and Materials Needed
Successful installation of a chimney cap relies heavily on having the right tools at your disposal, ensuring efficiency and precision throughout the replacement process. A well-equipped toolkit will not only facilitate the task but also enhance the overall safety and effectiveness of your project.
Below is a list of essential tools to contemplate for your DIY chimney cap replacement:
| Tool | Purpose |
|---|---|
| Adjustable Wrench | Fits various nut and bolt sizes |
| Pliers | Grips and removes unwanted parts |
| Screwdrivers | Versatile for fastening and loosening screws |
| Hammer | Drives and pulls nails |
| Utility Knife | Cuts various materials |
Additional tools may include a tape measure for accurate measurements, a caulk gun for sealants, and a power drill with appropriate bits for drilling pilot holes. Ensuring you have these tools on hand will streamline your chimney cap replacement, allowing for a more efficient workflow and better results. Proper preparation will ultimately lead to a successful installation, enhancing your chimney’s functionality and durability.
Safety Precautions to Consider
When undertaking the replacement of a chimney cap, prioritizing safety precautions is paramount to guarantee a secure and hazard-free work environment.
Here are three key safety measures to bear in mind before starting the replacement process:
- Use Proper Safety Gear: Before beginning any work, make sure you are equipped with the necessary safety gear. This includes wearing gloves to safeguard your hands, safety goggles to shield your eyes from debris, and a hard hat to protect your head in case of falling objects.
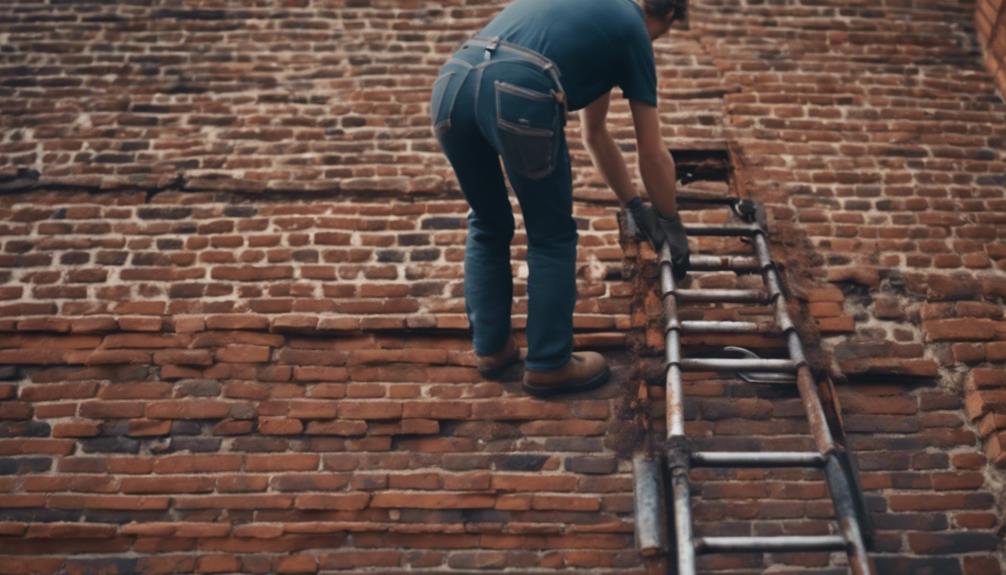
- Secure the Ladder: Make sure the ladder you use is stable and secure before climbing up to the roof. Position the ladder on a flat surface, lock the braces, and have someone hold the ladder while you ascend to prevent any accidents.
- Check the Weather Conditions: Before starting the replacement, check the weather forecast. Avoid working on the roof during windy or rainy conditions, as this can increase the risk of accidents and injuries. It’s best to choose a clear, calm day for this task.
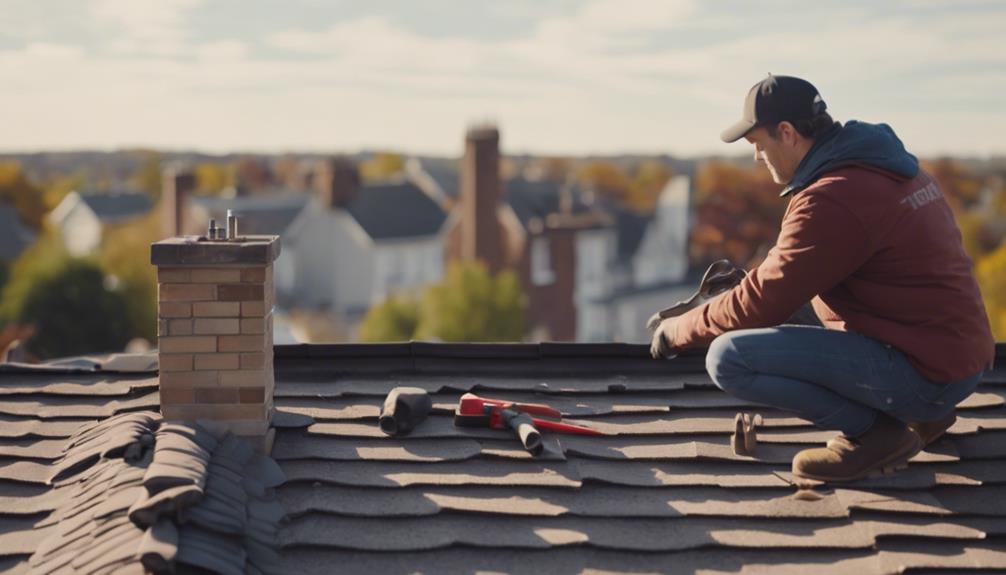
Step-By-Step Removal of Old Cap
Typically, the removal of a chimney cap involves a systematic approach to guarantee safety and efficiency throughout the process. This task requires proper tools and techniques to make certain that the cap is safely detached without damaging the chimney structure.
Here are the essential steps for removing a chimney cap:
- Secure the Area: Before beginning the removal, make certain the surrounding area is clear of debris and obstacles. This helps to prevent accidents and allows for safe manoeuvring.
- Remove Screws or Bolts: Utilizing a Phillips screwdriver or wrench, carefully remove any screws or bolts that are securing the chimney cap. It is vital to keep these fasteners organized for later use or replacement.
- Lift and Remove: Once all fasteners are removed, gently lift the chimney cap from its position. It is advisable to have a partner assist in this step to manage the weight and ensure safe handling. Lower the cap safely to the ground to avoid any potential injuries or damages.
Following these steps will facilitate an efficient chimney cap removal process, paving the way for necessary repairs or replacement.
How Much Does It Cost to Replace a Chimney Cap Yourself?
Understanding the costs associated with replacing a chimney cap yourself can help homeowners make informed decisions about their DIY projects and budgets. The overall expense primarily depends on the type of chimney cap selected.
For instance, a static chimney cowl generally ranges from £60 to £130, while an anti-downdraught cowl can cost between £150 and £250. Rotating cowls are typically priced between £30 and £120, although premium options can exceed several hundred pounds.
In addition to the cap itself, homeowners should also consider potential additional costs related to tools and safety equipment necessary for the installation. Essential tools may include a drill, a caulking gun, and various hand tools, which could add another £50 to £150 to the total expenditure if not already owned.
While it is feasible to replace a chimney cap independently, it is vital to weigh these costs against the complexity and safety of the project. If the chimney height or roof type poses challenges, hiring a professional may ultimately provide greater value, despite the higher initial cost.
When to Hire a Professional to Replace a Chimney Cap?
In certain circumstances, enlisting the expertise of a professional for chimney cap replacement is advisable to confirm safety and proper installation. While some homeowners may possess the necessary skills and tools, specific situations warrant professional involvement to mitigate risks and confirm compliance with safety standards.
Consider hiring a professional in the following scenarios:
- Roof Safety: If your roof is steep or presents limited space for safe manoeuvring, a professional will have the necessary equipment and experience to navigate these challenges effectively.
- Chimney Complexity: Should your chimney feature a complicated structure or if you lack experience, a professional can assess the situation and confirm that the installation adheres to all regulations and best practices.
- Cap Type: If the chimney cap requires sliding into the flue instead of being screwed into place, professional expertise is essential for correct installation and to prevent potential damage or malfunction.
Engaging a qualified contractor not only confirms the chimney cap is installed securely but also allows for the identification of any underlying issues that may require attention.
Frequently Asked Questions
How Do I Choose the Right Chimney Cap for My Chimney?
Choosing the right chimney cap doesn’t have to be complicated. Start by checking the size and type of your chimney’s flue. This will help you find a cap that fits just right. Next, think about the weather in your area. If you live in a place with heavy rain or snow, you’ll want a cap that can handle those elements. Also, make sure the cap works well with your roof structure. Lastly, pick a material that’s tough and can stand up to the elements, which will help protect your chimney and keep it functioning well.
Can I Paint My Chimney Cap After Installation?
Absolutely, you can paint your chimney cap after you’ve installed it. Just make sure to pick a paint that’s designed for high temperatures and can withstand the weather. This way, you can ensure that your chimney cap stays in good shape, even with the heat and elements it faces.
What Materials Are Chimney Caps Typically Made From?
Chimney caps are usually made from a few different materials like stainless steel, aluminium, copper, and galvanized steel. Each of these options has its own level of durability, visual appeal, and resistance to rust, so homeowners can pick what works best for them based on their needs and style preferences.
How Often Should I Inspect My Chimney Cap?
It’s a good idea to check your chimney cap every year, especially during your regular chimney maintenance. If there’s been some rough weather or you’ve noticed something off with how your chimney is working, it’s best to get it inspected sooner rather than later. This helps ensure everything is functioning properly and can prevent any potential issues down the line.
What Are the Signs of a Damaged Chimney Cap?
If you’re wondering whether your chimney cap might be damaged, there are a few signs to look out for. Keep an eye out for visible rust, cracks, or any parts that seem to be missing. You might also notice water stains on your ceilings or walls, which could point to a problem. If there’s a lot of debris building up inside the chimney or you see more animals hanging around the flue than usual, those could also be signs that your chimney cap needs some attention.
